- Launch Services
Overview
Chart your path to success with specialized services.Implementation Project Management
Experts to ensure you launch on time and under budget.Solution Architecture
Seasoned advisors to help you best design your store.Data Migration & Optimization
Expertise on a clean and clear path to migrating your data.Enterprise Launch Package
Personal training on how to set up and launch your BigCommerce Store.

Professional Services Blog Series
Get to know our teams and how they support your success in this Q&A series.

The Global B2B Buyer Behavior Report
This in-depth report provides actionable strategies to help you sell more online.
Product Photography for Ecommerce: Your Complete DIY Guide

Create your store and start selling today.
Create your new website.
See if the BigCommerce platform is a good fit for your business.
No credit card required.

Written by
Nicolette V. BeardWhat you'll learn:
Professional photography drives 75% higher conversions – Quality images directly impact purchase decisions, with shoppers 3x more likely to buy when they can see products from multiple angles.
Lifestyle shots increase engagement compared to plain product images – Context photos showing products in real-world use help customers visualize ownership and reduce return rates (which hit 30% for online purchases).
Large files slow page load speed, impacting revenue, conversions, rankings, ad spend, and bounce rates – Optimize image files to 70-100KB using compression tools.
Consistent styling across your product catalog builds brand recognition – Using the same backgrounds, lighting angles, and image ratios creates a cohesive shopping experience that increases customer trust and perceived professionalism.
It takes just 50 milliseconds for a shopper to form a first impression of your website.
In that split second, they decide whether to browse your catalog or click away to a competitor.
Because customers can't physically touch or try on your items, they rely almost entirely on visuals to judge quality.
Your photography is more than just a placeholder; it's your digital handshake.
75% of online shoppers rely on product photos to make purchasing decisions.
If your images are blurry, dark, or inconsistent, you aren't just losing style points — you're losing revenue. High-quality product photography builds the trust necessary to turn a casual browser into a loyal buyer.
In this guide, we'll walk you through the full rundown of product photography. From setting up your first DIY studio to optimizing images for SEO, here is everything you need to launch a picture-perfect online store.
Get a free 15-day trial of BigCommerce.
No credit cards. No commitment. Explore at your own pace.
Why high-quality product photography matters
Great photography is the closest thing to placing your product in a customer's hand.
It bridges the gap between the digital and physical worlds. While written descriptions provide the specs, images offer the emotion and the proof.
Here is why investing in professional-grade visuals is non-negotiable for your ecommerce business.
Enhance buyer trust and reduce returns.
Trust is the currency of ecommerce. Without the ability to inspect an item personally, customers hesitate. They wonder if the color is accurate, if the material is durable, or if the fit is right.
High-quality images answer these questions instantly.
When your photos are clear and accurate, you set realistic expectations. Giving customers what they expect doesn't just boost sales; it protects your bottom line. Recent data shows that 22% of returns occur because the product looked different in person.
By providing multiple angles and detailed close-ups, you remove ambiguity. You give customers the confidence that what they see is exactly what they will get.
Building brand identity through visuals.
Your product photography tells a story about your brand before a customer reads a single word.
Are you a luxury brand? Your lighting should be moody and dramatic. Do you sell eco-friendly goods? Your shots should look natural, bright, and organic.
Consistent photography creates a cohesive brand identity across every touchpoint, from your product page to your Instagram feed. It signals professionalism and attention to detail — traits that customers immediately associate with the quality of your products.
Types of Product Photography
Product photography isn't one size fits all.
Just as your inventory varies, so should your images. Some product shots are strictly functional, designed to show specs and clarity. Others are emotive, intended to stop a scroll on Instagram.
To convert browsers into buyers, you need a mix of both.
Whether you shoot with a high-end DSLR or the latest iPhone, understanding the specific purpose of each image style is key.
Here are the six essential types of shots every ecommerce store needs.
1. Individual shots.
This is your "hero" image.
The individual shot features one object in the frame, usually against a clean white background. These are the images that populate your product catalog and search results.
The goal here is clarity.
To achieve a crisp, professional look that eliminates distracting shadows, photographers often rely on studio lights or specific softbox light setups.
2. Group shots.
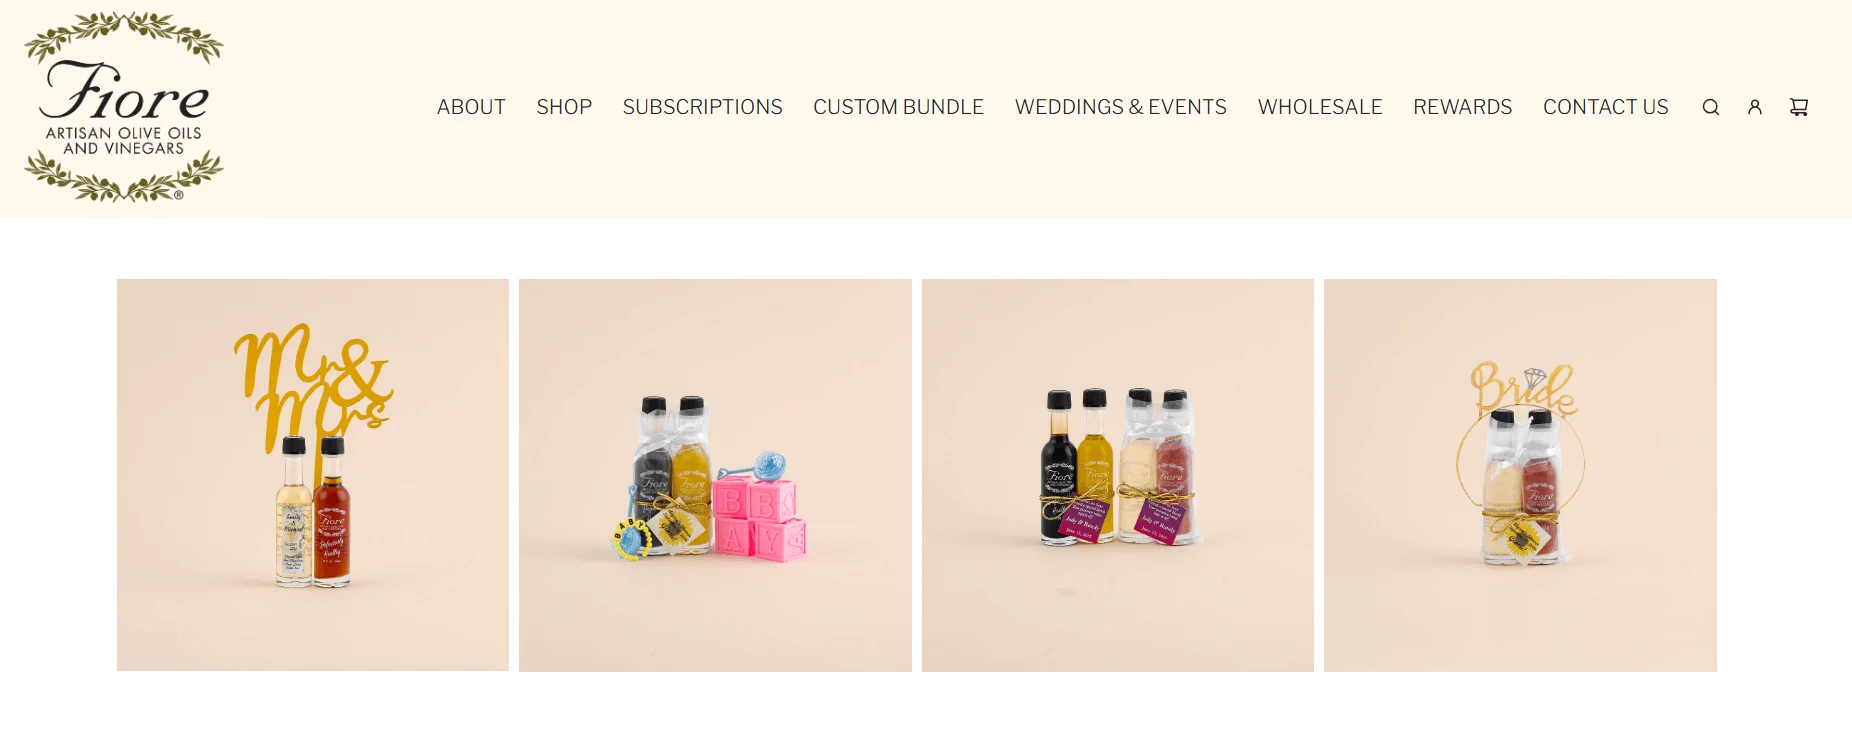
Group shots showcase multiple products together.
These are ideal for product kits, bundles, or collections. They display the range of your inventory and offer a complete view of your offering.
Group images are particularly effective for social media posts and banner ads. They give shoppers a taste of your brand as a whole rather than focusing on a single SKU.
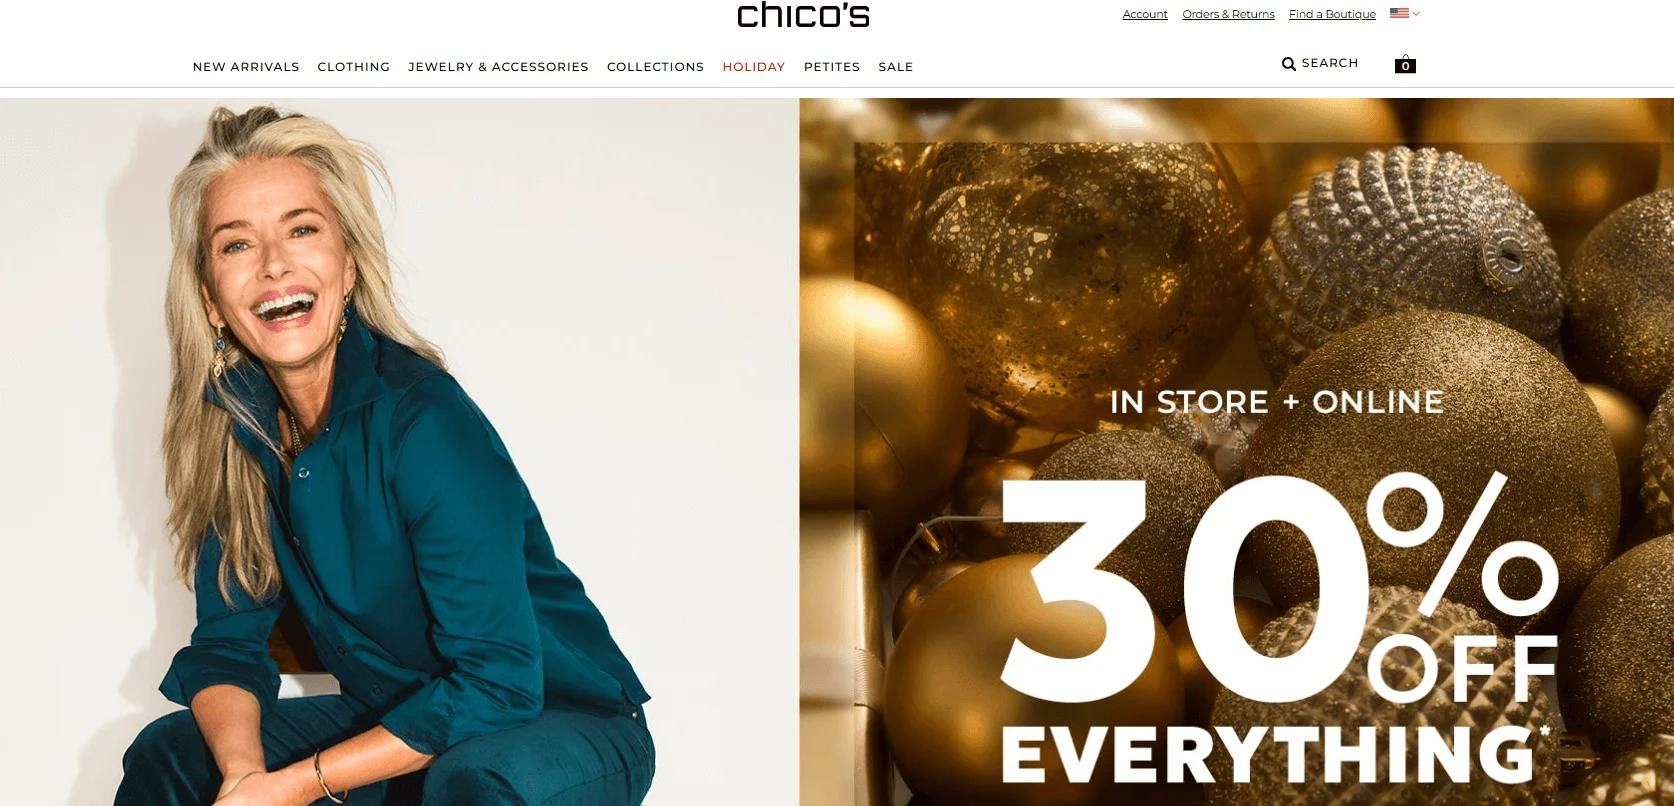
3. Lifestyle shots.
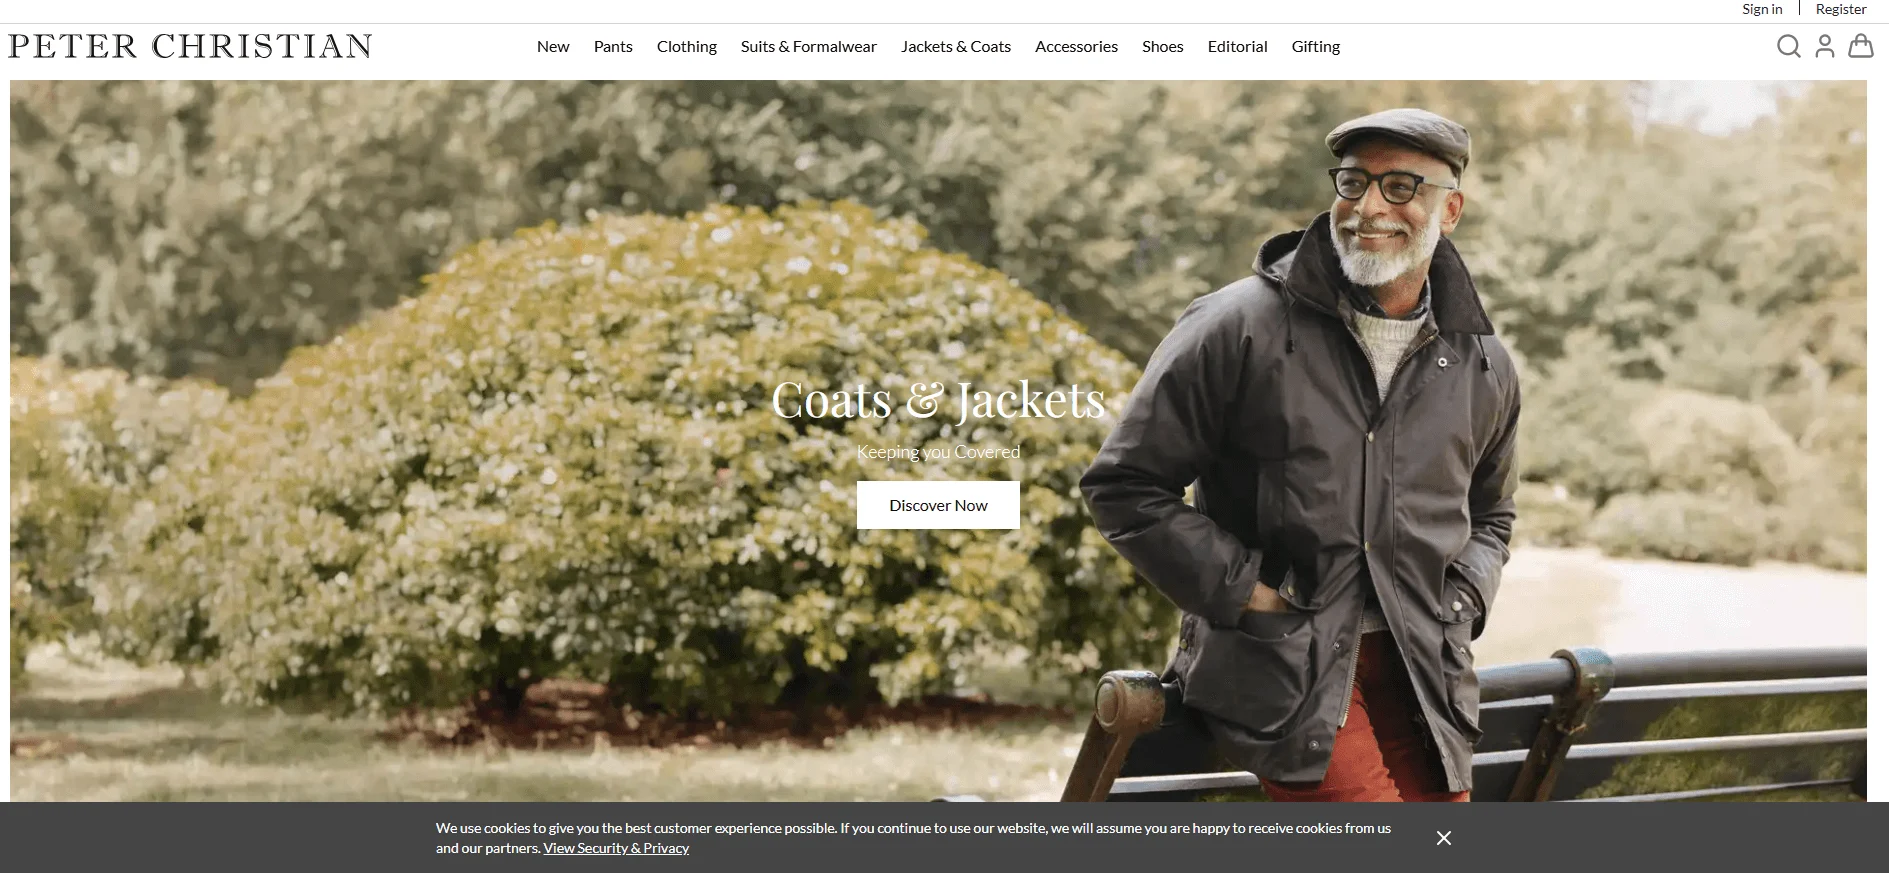
This is where you tell a story.
Lifestyle shots show your product in action. Unlike individual shots, these are often taken with a model or in a real-world environment to establish context.
Lighting is crucial here. While studio settings can feel sterile, natural lighting brings warmth and authenticity to lifestyle images.
Use these photos in emails and ads to make your brand feel personal and relatable.
4. Scale shots.

Online shoppers have a common problem: they can't gauge size.
Dimensions listed in a description are helpful, but visuals are faster. Scale shots solve this by placing the product next to an everyday item for comparison.
If you are selling a handbag, show a person wearing it. If you are selling a vase, place it on a table next to a book. This simple visual cue increases buyer confidence and reduces returns based on size expectations.
5. Detailed shots.
For products with specific textures or small intricacies — like food photography, jewelry, leather goods, or electronics — a standard photo isn't enough.
You need a close-up.
Detailed shots highlight features that a shopper might miss in a wide-angle shot. Capturing these requires precise camera settings and steady hands.
Whether using a macro lens on a camera or the macro mode on a smartphone, ensure you have plenty of natural light or focused artificial light to capture the fine grain without graininess.
6. Packaging shots.
Believe it or not, customers care about the unboxing experience.
If you have invested in branded boxes, velvet bags, or custom labels, show them off.
Packaging shots set expectations. They tell the customer that their purchase will arrive beautifully. This level of detail adds a layer of perceived value to the product before they even open the box.

There's a lot to love ❤️
Watch a demo to see the BigCommerce platform in action.
Essential tools and equipment
You don't need a five-figure budget to take great photos.
While top-tier gear helps, technique matters more. Many successful ecommerce stores started with nothing more than a smartphone and some window light.
Here is the essential toolkit you need to get started.
1. Cameras.
Smartphone.
Modern smartphones (iPhone, Pixel, Samsung) possess camera technology that rivals older DSLRs. They are lightweight, user-friendly, and likely already in your pocket. If you are on a budget, start here.
DSLR or mirrorless.
If you have the budget, a dedicated camera offers two significant advantages: the ability to shoot in RAW format (for better editing) and the option to swap lenses. Using a dedicated camera gives you greater control over depth of field and manual settings.
2. Tripods and mobile grips.
Handheld shooting is the enemy of sharp product photography.
Even the slightest movement can cause blurring or throw off your framing. To ensure your images are crisp and consistent from shot to shot, a tripod is essential.
You don't need a heavy-duty cinema rig. You can find reliable, lightweight tripods for under $30 on Amazon.
Pro tip: If you are using a smartphone, you will need a mobile grip. This simple adapter screws into the tripod and clamps your phone in place, keeping it perfectly steady.
3. Backgrounds.
Shooting table.
You need a stable surface. The surface can be a designated table, a desk or even a chair. To get that seamless white background look (AKA the "infinity curve"), professional photographers use a "sweep" — a flexible sheet of white paper or plastic that curves behind the product.
Light tent.
For smaller items like jewelry or electronics, a light tent (or lightbox) is handy. This is a box with translucent sides that diffuses light from all angles, eliminating harsh shadows. You can buy a pop-up version or build a DIY one using a plastic storage bin and a white cloth.
4. Lighting.
Natural light.
The sun is free and high-quality. If you have a large window that lets in soft, indirect light, you have a great starting point.
Studio lighting.
If you rely on the sun, you are at the mercy of the weather and the time of day. For consistent results, you will eventually want to invest in artificial lights.
At a minimum, look for a standard studio lighting kit with two softboxes. These diffuse the light, mimicking the look of a large window while giving you total control over shadow and intensity.
5. Photo editing software.
Taking the photo is only half the battle. Every image needs retouching to correct colors, remove dust, and crop the frame.
Adobe Photoshop Lightroom.
Photoshop Lightroom is the industry standard. It offers unlimited control over your image. If you are new to the software, Adobe offers countless tutorials to help you master the basics of masking and retouching.
Free photo editor alternatives.
If you aren't ready for a subscription, there are excellent free or low-cost tools available:
Pixlr: A browser-based editor that feels similar to Photoshop
Canva: Great for simple edits and adding graphics for social media
Snapseed: A powerful mobile app for editing on the go
fotor: Crop, add text and effects, and retouch images with this suite of tools
Step-by-step product photography process
You have your tools. You understand the types of shots. Now, it's time to shoot.
Don't be intimidated. Even professional studios follow a standard workflow. By breaking the shoot down into these five steps, you can turn a chaotic process into a repeatable system.
Here is how to build your own DIY studio and get the perfect shot.
Step 1: Workspace setup.
Before you even touch the camera, you need to build your stage.
For small items (the tabletop method):
Push a table against a wall. Tape a large sheet of white craft paper to the wall and let it drape down onto the table. This creates a "sweep" — a seamless background with no visible horizon line. If you are using a light tent, place it in the center of the table.
For large items:
You will need more space. Use a stand-mounted sweep or tape a large roll of paper high up on a wall. Ensure the floor is clean and the paper extends far enough forward so the product sits entirely on the white surface.
Step 2: Product prep.
The camera sees everything — including dust, fingerprints, and loose threads.
Cleaning your product now saves you hours of editing later.
Wipe it down. Use a microfiber cloth to remove smudges.
Check the details. Use glue dots or tape to secure loose straps or keep jewelry in place.
Positioning. Place the product in the center of your background. If you are shooting clothing, use a mannequin or a hanger to give it shape.
Step 3: Lighting and camera setup.
This is where the magic happens.
Lighting:
Natural light. Position your table near a window. If the sun is too harsh, tape a white sheet over the window to diffuse the light.
Artificial light: Place your key light (the primary source) in front of the product, slightly to one side. Place your fill light on the opposite side to soften the shadows.
Camera settings:
Whether you are using a DSLR or a smartphone, the goal is sharpness.
Aperture: For a sharp focus across the entire product, use a small aperture (high f-stop, like f/11 or f/16). If you want a blurry background (bokeh), use a wide aperture (low f-stop).
ISO: Keep this as low as possible (ISO 100) to avoid "noise" or grain.
White balance: Set this to match your light source (e.g., "Daylight" or "Tungsten") so your colors look accurate.
Format: Shoot in RAW if possible for the best editing quality; otherwise, choose the largest JPG setting available.
Stabilize:
Mount your camera on the tripod. Turn off the flash — you don't need it because you have already set your lights.
Step 4: The shoot.
Take more photos than you think you need.
Start with your "hero" shot (straight on, eye-level). Then, move the camera or rotate the product to capture angles: 45-degree views, side profiles, and close-up details.
Pro tip: Don't trust the small screen on your camera. If you can, "tether" your camera to a laptop so you can see the images on a large screen instantly. You'll spot issues like glare or focus problems while you are still set up.
Step 5: Editing.
Post-production brings your photos from "good" to "professional."
Upload your images to your photo editing software. Your editing checklist should include:
Background removal: Make the background pure white (RGB 255, 255, 255) for consistency
Color correction: Ensure the product color on screen matches the real-life item
Retouching: Remove any dust spots or blemishes you missed during prep
Cropping: Crop the image so the product takes up about 80-90% of the frame
Optimization, accessibility, and best practices
You have taken beautiful photos. Now, you need to make sure they perform.
A high-resolution image that takes ten seconds to load is useless. A stunning photo that can't be interpreted by search engines or screen readers misses a massive audience.
This section covers the technical "finish line" — ensuring your images are fast, findable and inclusive.
1. Image optimization for the web.
There is a constant tug-of-war in ecommerce: Quality vs. Speed.
High-quality images are large files, and large files slow down your ecommerce website.
For every second a site loads faster, conversion rates improve by 17%. You cannot afford to make customers wait.
How to find the balance:
Compression: Use minifying tools (like TinyPNG or Squoosh) to reduce file size without visibly degrading quality. Aim for a file size under 100KB for standard product images where possible.
File format: While JPEGs are standard, consider modern formats like WebP, which offer superior compression for high-quality images.
Naming conventions: Never upload a file named DSC_001.jpg. Search engines can't "see" your image, but they read filenames. Rename your file to describe the product, such as navy-blue-leather-tote.jpg.
2. Accessibility for product images.
Accessibility isn't just a "nice to have" — it's a requirement for a genuinely inclusive web.
Millions of users rely on screen readers to navigate the internet. If your images lack proper descriptions, these users have no way of knowing what you are selling.
According to the World Wide Web Consortium (W3C), the international standards organization for the web, you must provide text alternatives for any non-text content. Inserting the alt text= element ensures that "information is conveyed to people who cannot see the content."
Best practices for alt text:
Be descriptive: Don't just write "shoe." Write "Red running shoe with white laces and rubber sole."
Avoid keyword stuffing: Write for humans, not just algorithms.
Don't say "image of": Screen readers already announce that it is an image.
3. Creating style guidelines.
Consistency is the key to a professional-looking store.
If one photo has a gray background and the next has a white background, your collection page will look chaotic. To prevent this, create a Technical Style Guide. This document serves as the "rulebook" for your brand, ensuring every future shoot matches your current standard.
Your Style Guide should define:
Color palette: Specific hex codes for backgrounds (usually #FFFFFF for pure white)
Saturation: The vibrancy level of your colors
Focal length: The specific lens zoom used (e.g., 50mm vs. 85mm)
Shadows: Whether you use hard shadows, soft shadows or no shadows
Margins: How much white space you leave around the product (e.g., product takes up 85% of the frame)
AI tools for product photography
The days of needing a plane ticket to shoot your product on a beach are over.
Artificial intelligence (AI) has rapidly evolved from a buzzword into a practical, time-saving assistant for ecommerce merchants. While it doesn't replace the need for a good original photo, AI tools can drastically reduce the time and money spent on post-production.
Here is how AI is changing the workflow.
1. Generative backgrounds.
One of the most expensive parts of photography is "staging." Buying props, finding locations, and setting up scenes takes time.
AI tools now allow you to take a simple photo of your product against a white background and instantly place it in a realistic lifestyle setting.
Mokker.ai: This tool specializes in replacing boring backgrounds with professional, generated scenes. You can place your skincare bottle on a marble counter or your shoe on a city street in seconds.
Canva AI apps: Canva has integrated several AI apps specifically for optimizing great product photos, allowing for quick background generation that blends lighting and shadows to match your subject.
2. Upscaling and quality enhancement.
Sometimes you have a great shot, but the resolution is too low. Maybe you cropped it too tightly, or the lighting was slightly off.
AI upscaling tools can "read" the image and add pixels to increase resolution without making the image look pixelated.
Claid.ai: This platform is designed to automate the editing process. It can upscale low-quality user-generated content, fix lighting, and sharpen blurry details, ensuring every image meets the high standards of your storefront.
3. Automated editing and cleanup.
Retouching is tedious. Removing dust specks or cutting out a background used to take hours of manual work in Photoshop.
Now, AI handles the tedium.
Background removal: AI can detect the edges of your product with near-perfect accuracy, instantly creating transparent PNGs
Magic erasers: Tools like the "Magic Eraser" in Google Photos or Canva allow you to highlight an unwanted object (like a forgotten price tag or a stray hair) and remove it seamlessly
A note of caution: While AI is powerful, it requires a human eye. Always review AI-generated images to ensure that the technology hasn't altered the product itself. The background can be fake, but the product must be 100% real.
DIY vs. hiring a professional
You don't need to be an expert to create beautiful images, but like any project, the "do-it-yourself" route has limits.
As a business owner, you have to weigh time against money.
As a DIY product photographer, you have total creative control and lower costs. However, you also bear the burden of setup, shooting, and hours of editing. As your business scales, you may find that you can better spend your time on marketing or operations than on adjusting light stands.
If you have the budget, investing in professional product photography services can be a game changer. Here is why you might consider making the switch.
Professional quality.
There is a difference between a "good" photo and a "commercial" photo.
Unless you are an experienced photographer, you likely don't have the high-end lenses, strobes, and modifiers needed to achieve the highest tier of clarity. The quality of your equipment often dictates the quality of your output.
A professional photographer comes equipped with the best tools and, more importantly, the technical know-how to use them. They understand how light interacts with different materials — like glass, metal, or velvet — ensuring you get high-quality product photos that elevate your brand's perceived value.
Consistent editing.
One of the most complex parts of photography is consistency.
If you shoot your inventory in batches over several months, it can be a challenge to recreate the same lighting and color grading every time. Time delays lead to a messy collection page.
A pro thrives on consistency. They use specific color profiles and editing workflows to ensure that a photo taken today matches a photo taken six months ago. This uniformity builds brand trust.
Where to find a product photographer.
If you are ready to outsource, you don't have to look far. Here are a few services to help you find the right match:
ProductPhotography.com: This is a "ship-and-shoot" service. You fill out an order form, ship your products to their studio, and they send back digital files and your physical items. It is efficient and scalable.
Thumbtack: If you prefer to work with someone locally, Thumbtack helps you find experts in your area. You can view profiles, check ratings, and browse portfolios to find a product photographer that fits your specific aesthetic and budget.
Squareshot: With studios in major hubs like New York, Los Angeles, and Austin, Squareshot offers a hybrid approach. They allow merchants to ship products and receive high-end editorial content within days.
The final word
Product photography separates successful ecommerce stores from struggling ones.
Your images handle the work that physical stores accomplish through touch and inspection. Customers can't hold your ecommerce products. They rely entirely on what they see.
There are two paths forward:
Hire a photography studio for $175 – $500 per hour. You'll get polished results and save time. Professional photographers bring expertise in product photography, lighting, post-processing, and styling that's hard to replicate immediately.
Build your own product photography setup for under $1,000. A DIY product photography approach gives you control, unlimited photoshoots, and skills that scale with your small business.
The investment pays off fast.
Better ecommerce photography reduces returns. Clear images answer questions before customers buy. Lifestyle photos show your products solving real problems.
Your product photography studio doesn't need expensive equipment to shoot products effectively. Continuous light sources, basic reflectors, and a smartphone camera create professional results when you apply fundamental product photography tips consistently.
Start simple. Improve systematically.
Master white background shots first. Add lifestyle photos as you grow. Test different angles. Learn basic post-processing. Take your product photoshoot to the next level through practice, not equipment upgrades.
The photo studio you build today supports every product you launch tomorrow.
FAQs about product photography
Do I need expensive equipment to start product photography?
You don't need pricey gear. Phone cameras work fine for beginners. Good lighting matters more than the lens. Start with a bright window, and upgrade tools later as your business grows.
What's the best image size and format for ecommerce?
Many sites prefer square pictures. Try for 1024 by 1024 pixels. These dimensions fit nicely on screens. Maintain small file sizes for speed, and aim for under 100 kilobytes. Formats like JPEG or WebP perform best.
How do I photograph reflective items like jewelry or glass?
Shiny objects often act as mirrors where bright spots appear easily on the surface. Block glare by softening the beams. A white sheet hung near the window works well for this. Never use a direct flash, and place foam boards around the item to hide the room.
How can I take photos that work for both social media and my online store?
Capture shots from further back, and allow extra room around the object. Shooting wide gives you options for cropping for every platform. Online shops usually need square cuts; phone apps might want vertical views.
How can I make my product photos stand out from competitors?
Create a distinct visual style, and maintain similar tones in every frame. Shoppers feel more comfortable with steady themes. Add simple props that match the brand and show the goods in use, to tell a story. Clean edits help too.

Find your favorite features.
Explore all of the capabilities of the BigCommerce platform.